Quickstart
Marv installation
Windows:
You can download the lastest Marv version here.
Launch the setup program and follow the steps.
Linux:
You can download the lastest Marv version here. Be careful, in order to use Marv, you must get at least OBS version 25.0.7 for your browser to be able to support the sources. To be sure to have the latest version, add the following official repository:
sudo add-apt-repository ppa:obsproject/obs-studio(Detailed installation instructions here).
Command-line installation:
$  mkdir marv
$  mv Marv-x.y.z.AppImage marv
$  cd marv
$  chmod u+x Marv-x.y.z.AppImage
You can launch Marv from the command line:
./Marv-x.y.z.AppImagegraphical installation :
- download the appimage ! here
- ideally, move the appimage to a dedicated folder
- Right-click on the appimage -> properties -> permissions -> check “Allow executing file as program”
- Left-click on the appimage to launch Marv
In order to create a desktop shortcut -> Right-click on your desktop -> Create a new launcher here -> Name it Marv and link it to the AppImage with the correct filepath.
Overlay setup in OBS
To be able to display your animation live, you have to add a source in OBS that is the local address of the Marv overlay.
In order to add a browser source, start OBS, right mouse on the small plus sign (+) at the bottom left of your scene list.
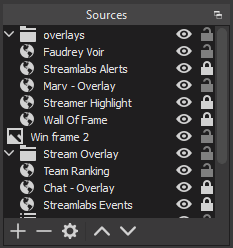
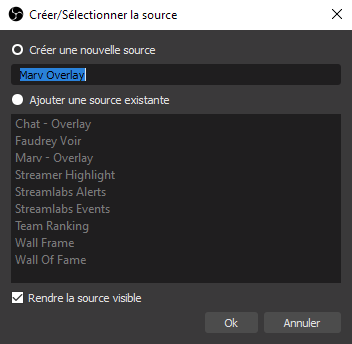
Create a new browser source name it as you wish.
In the input URL field, enter the following address: http://localhost:4242/overlay
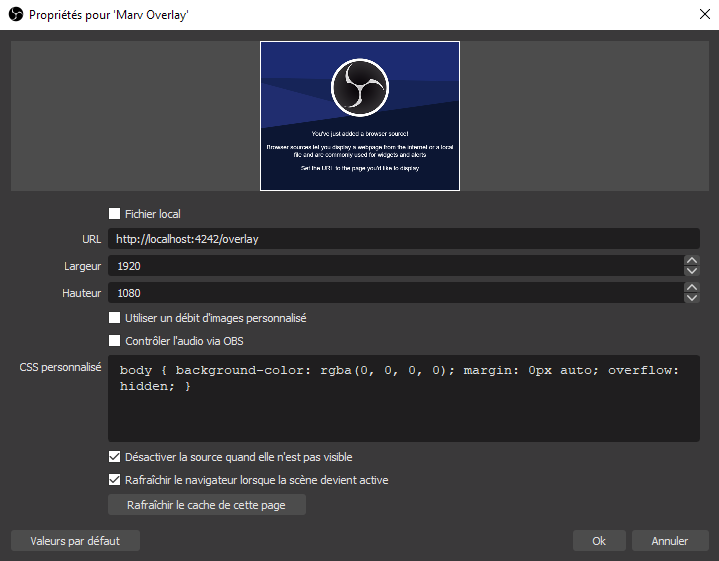
You also have to check two boxes:
[✔] Shutdown source when not visible.
[✔] Refresh browser source when scene becomes active.Make sure you place the overlay correctly in your scene and note its dimensions. They will allow you to correctly set up your animations later.
OBS Websocket setup
If you want to control OBS with Marv (scene change, mute, etc…), you must install OBS Websocket.
Download: Windows | Linux | macOS
To configure the websocket plugin in obs : go to tools => websocket server settings.
If you did not define a password during the Websocket plugin installation, uncheck enable authentication in the websockets server settings.
Guidelines
Start Marv before OBS.
If not, you could get the following error message.

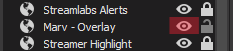
In order to rerun the overlay, hide the source and then make it visible again.
**Don't forget to connect Marv to Twitch
When you launch Marv, connect to your twitch account. This is essential to use some features (chat, commands, etc.).
